SvelteJS
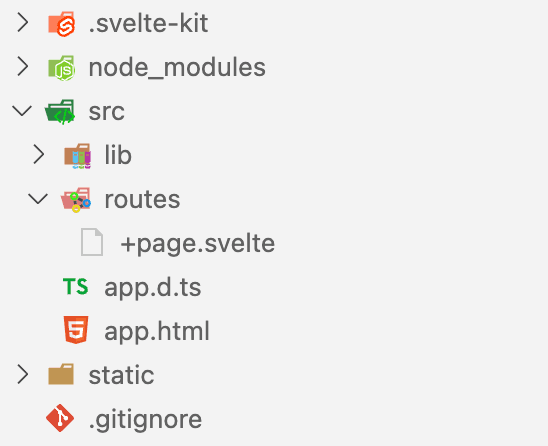
This is the file structure when you generate a project with Svelte with npx sv create myapp1
Steps
1. Open the app.html at the root directory, then you will see similar codes
app.html
<!DOCTYPE html>
<html lang="en">
  <head>
    <meta charset="utf-8" />
    <link rel="icon" href="%sveltekit.assets%/favicon.png" />
    <meta name="viewport" content="width=device-width, initial-scale=1" />
    %sveltekit.head%
  </head>
  <body data-sveltekit-preload-data="hover">
    <div style="display: contents">%sveltekit.body%</div>
  </body>
</html>
2. modify your root layout file with your configuration
app.html
<!DOCTYPE html>
<html lang="en">
<head>
<meta charset="utf-8" />
<link rel="icon" href="%sveltekit.assets%/favicon.png" />
<meta name="viewport" content="width=device-width, initial-scale=1" />
%sveltekit.head%
<link
rel="manifest"
href="https://transcodes-contents-dev.s3.ca-central-1.amazonaws.com/01JWW55QK8Z4MFK9S0RG6527C6/manifest.json"
/>
<script
type="module"
src="https://transcodes-contents-dev.s3.ca-central-1.amazonaws.com/01JWW55QK8Z4MFK9S0RG6527C6/webworker.js"
></script>
</head>
<body data-sveltekit-preload-data="hover">
<div style="display: contents">%sveltekit.body%</div>
</body>
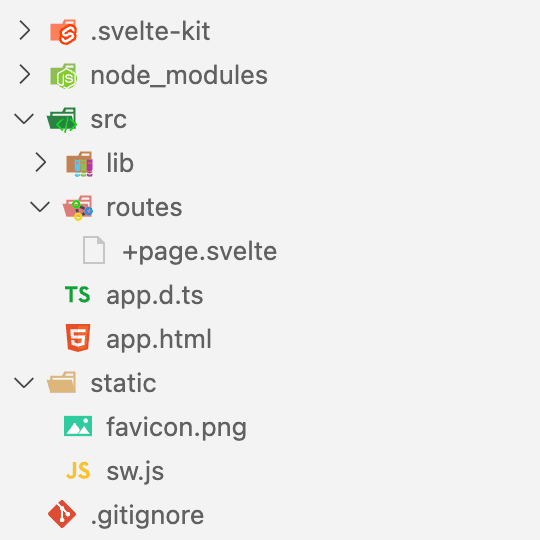
</html>3. Download sw.js and place in the /static
sw.js
importScripts(
  'https://transcodes_cdn_url/01JWW55QK8Z4MFK9S0RG6527C6/serviceworker.js'
);
4. It should look like this
5. Now, you can Transcodes PWA is activated successfully


Last updated on